Quick Tips
Organise the start menu
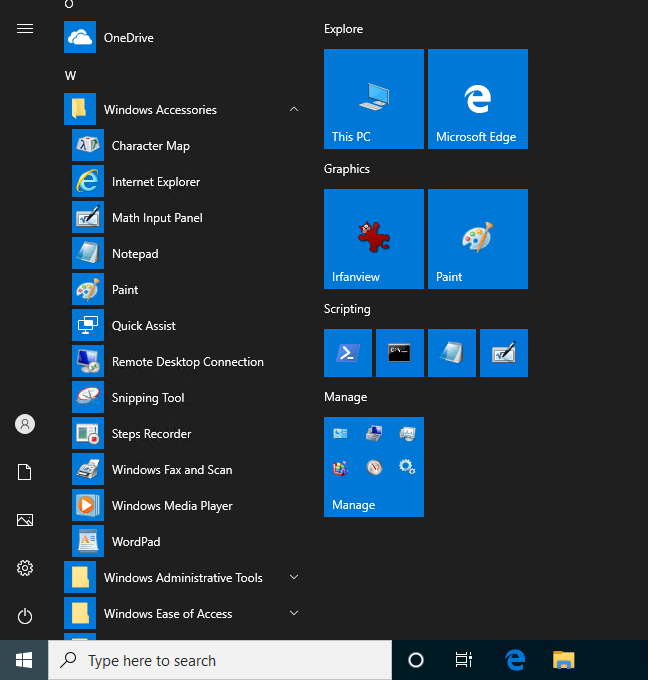
The start menu is there for quick access to the programs you use most frequently. You can organise your start menu easily so it suits your use of the computer.
- Start by removing tiles on the start menu that you do not use. Simply right-click on a tile and click Unpin from start. The item will still be available on the start menu if needed.
- You can remove all the tiles from the start menu and then drag the right side of the menu toward the left if you want the original style menu.
- Drag the remaining tiles around so they are arranged into groups of programs of a similar type.
- Rename the groups as necessary by hovering over the two lines to the right of the group name and clicking once then type an appropriate name.
- Resize tiles as necessary by right-clicking on the tile and clicking Resize.
- You can group multiple tiles together by dragging one on top of another, keep dragging more tiles onto the group as needed.
Use virtual desktops
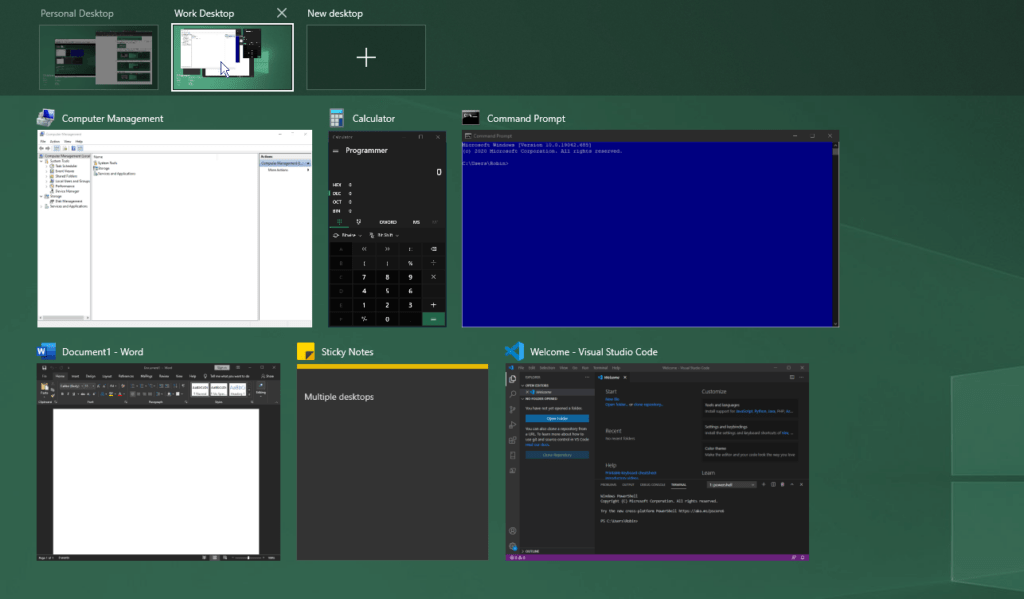
With an ever-increasing number of people working from home, it is a good idea to separate the work, office or school tasks being carried out on your computer from other tasks. Windows has a tool to help you keep these tasks separate known as Virtual desktops. With virtual desktops you can easily manage your desktop into virtual workspaces keeping different desktops for each broad category of task you are currently working on.
To work with these:
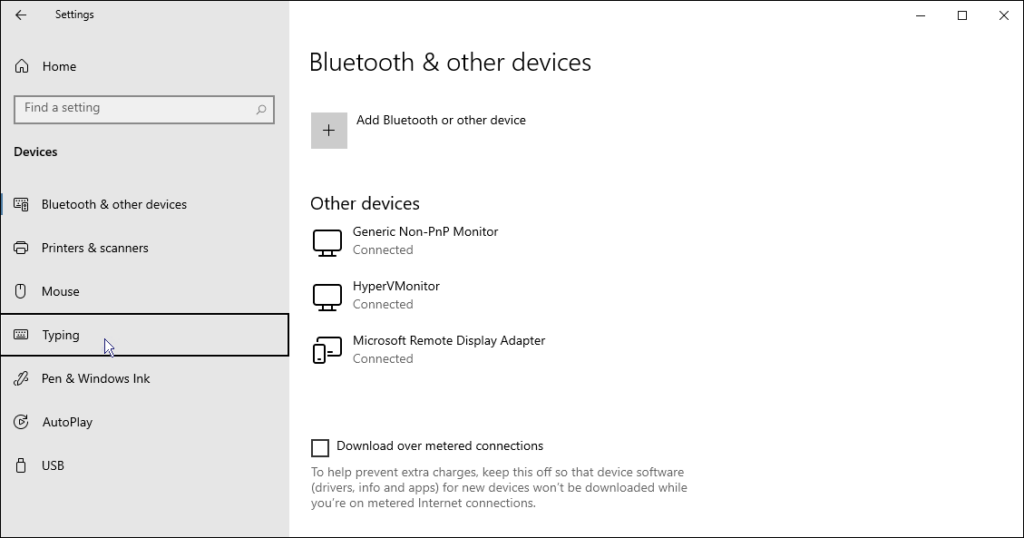
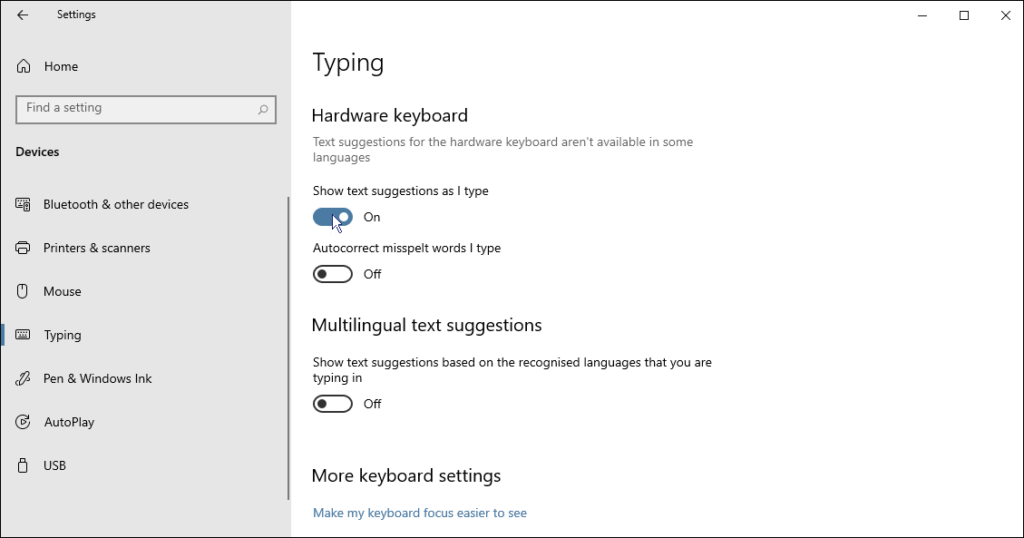
Predictive text on your PC
Do you like getting text predictions on your phone and wish you could have them while typing on your PC too?
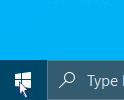
- Click
 (the start button).
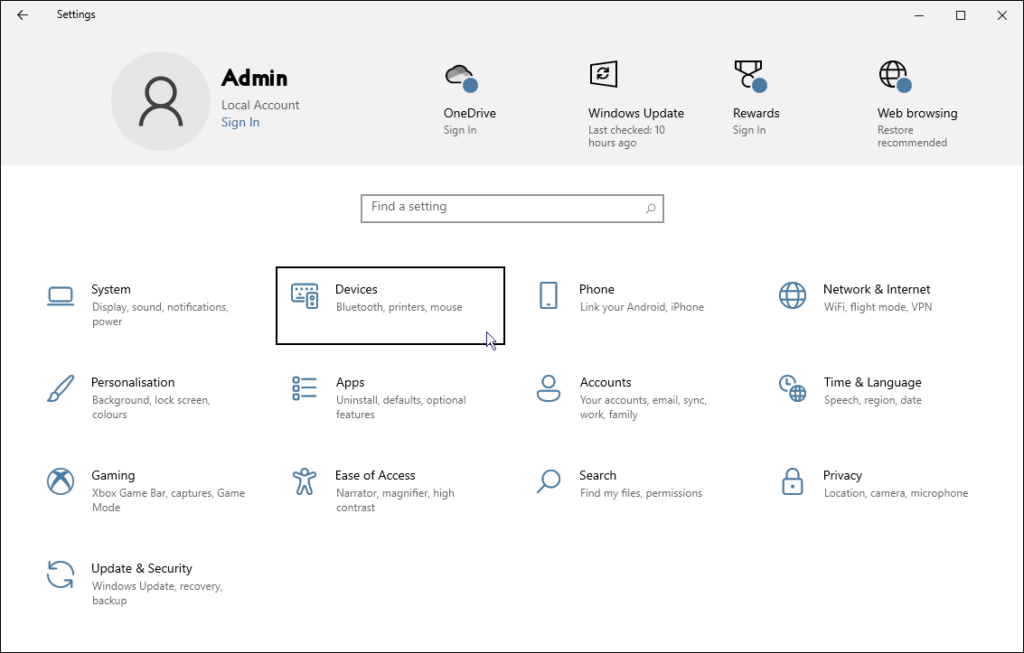
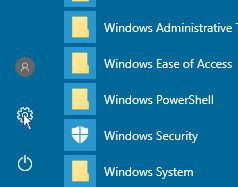
- Click the Settings menu item.
Windows 11 Classic Start Menu
You can use the classic start menu on Windows 11
If you are using Windows 11 and do not like the new start menu, you can re-enable the classic (Windows 10) start menu.
In the current leaked build, you can revert to the old Start Menu by creating a new DWord value using Registry Editor:
- Open Regedit (Registry Editor).
- Browse to HKEY_CURRENT_USER\Software\Microsoft\Windows\CurrentVersion\Explorer
- Right-Click on the Advanced key (folder).
- Click “New”
- Click “DWORD (32-bit) Value”
- Name it “Start_ShowClassicMode”
- Double-Click on the DWord entry you just made and set its value to 1.
- Close the Registry Editor
- Restart Windows Explorer using Task Manager.

