How to upgrade to Windows 11
Upgrading to Windows 11 is easy. Here we show you how to perform an in-place upgrade to Windows 11 keeping all settings and compatible programs.
Upgrading your existing installation
This is by far the easiest way to install Windows 11. To do so, you must have a 64-bit internet connected PC that meets the system requirements.
To see if your PC has a 64-bit processor
- Click Settings
- Click System
- Click About
- Look under System Type
To see the system requirements visit the Microsoft website
If your computer meets the above requirements, Windows Update can upgrade your PC automatically. Alternatively, you can download the Windows 11 Update Assistant and update your computer immediately
To upgrade using Windows Update
Watch the video below and follow the instructions to upgrade using Windows Update.
If you want to perform the upgrade the simplest way (using Windows Update), you simply need to keep checking on Windows Update and eventually it will appear in your available updates.
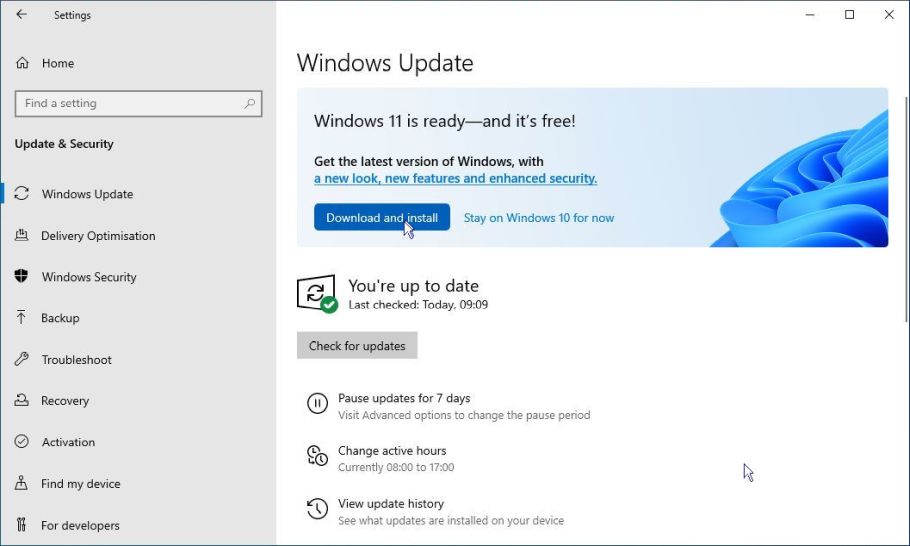 On the windows update page, if you see a panel stating that Windows 11 is ready, click Download and install
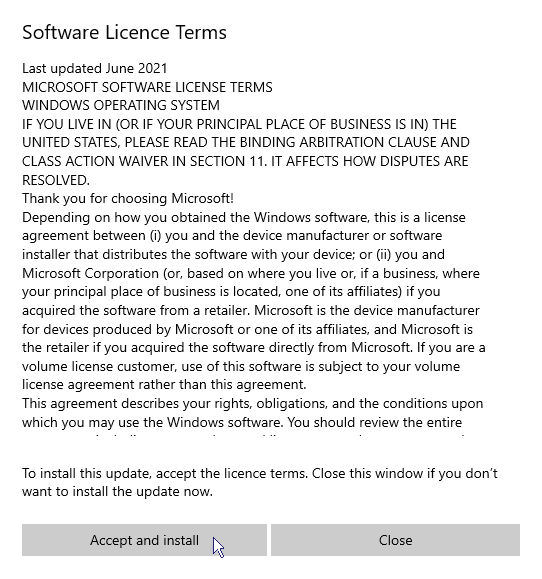 On the Software Licence Terms page, click Accept and install
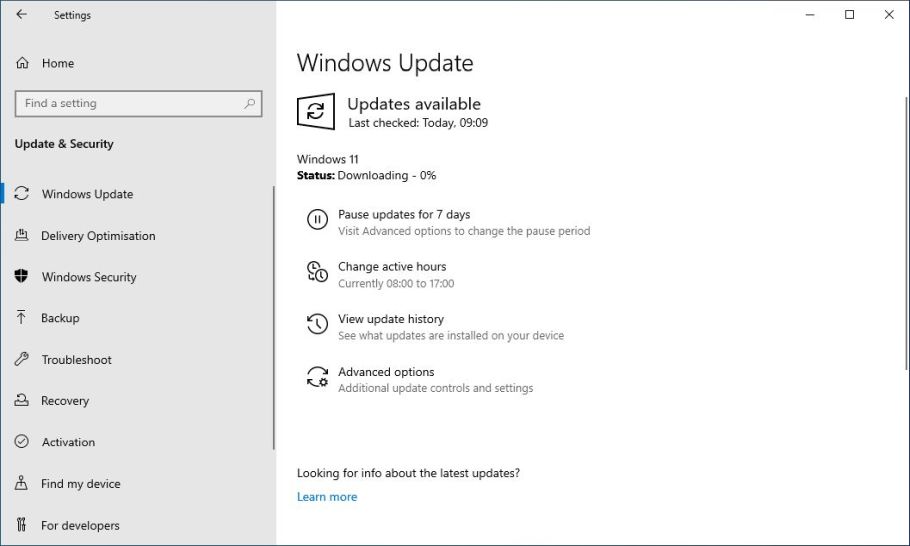 Windows Update will download all the necessary files
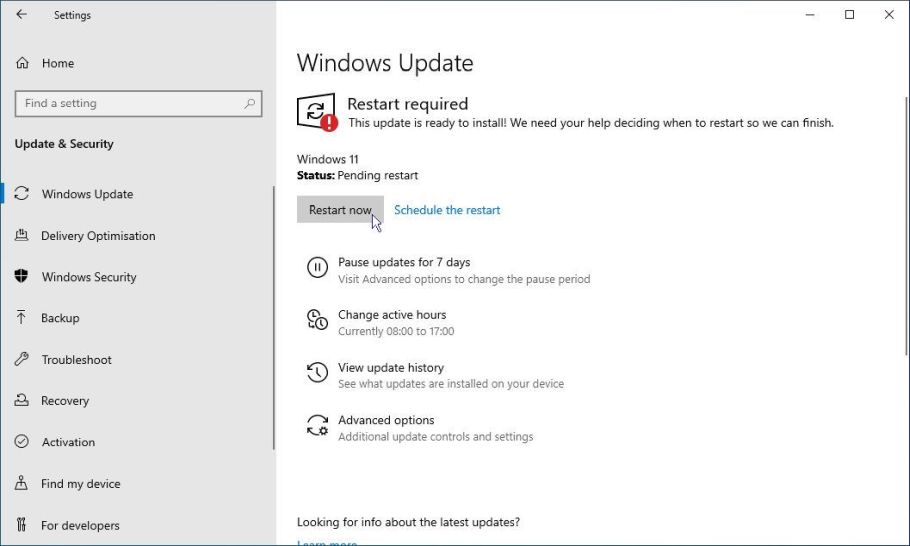 The PC must be restarted to complete the upgrade
If Windows 11 doesn’t appear on the Windows Update page and you don’t want to wait for it, you can use the Windows 11 Update Assistant to install Windows 11 immediately
To upgrade using the Windows 11 Installation Assistant
Watch the video below and follow the instructions to upgrade using the Windows 11 Installation Assistant.
- In a browser, go to the Windows 11 page on the Microsoft website
 Near the top of the page, under the Windows 11 Installation Assistant heading, click Download Now
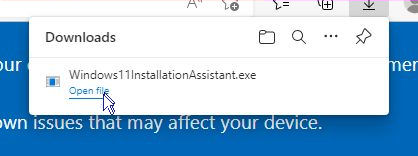 When the tool has finished downloading, click Open file (or go to the location of the downloaded file and double-click on it)
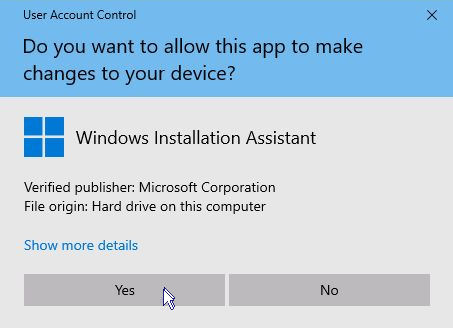 If you are prompted by User account control to allow the app to make changes, click Yes
 In order for the upgrade to continue, you must use the PC Health Check app to check the computer’s compatibility. Click Get PC Health Check app (leave the Windows 11 Installation Assistant running)
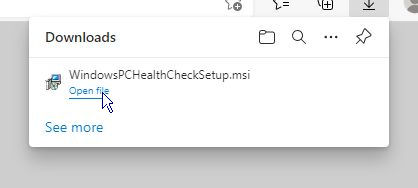 The app will download, when finished, click Open file (or go to the location of the downloaded file and double-click on it)
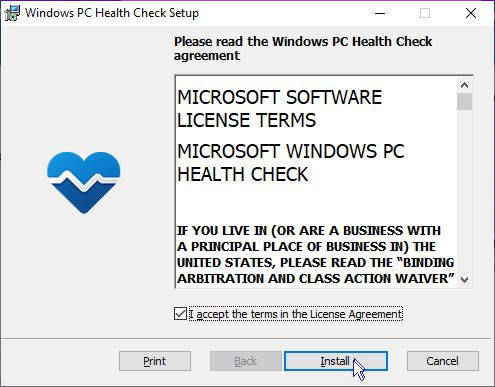 Click the checkbox to accept the terms
- Click Install
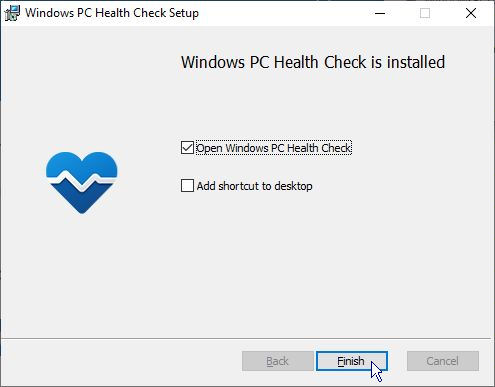 Ensure the checkbox to Open Windows PC Health Check is selected then click Finish
 In the PC Health Check app, under the Introducing Windows 11 heading, click Check now
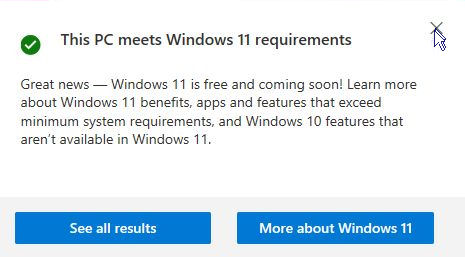 Assuming your computer meets the requirements, you should see the screen confirming this. You can simply close this screen, then close the PC Health Check app
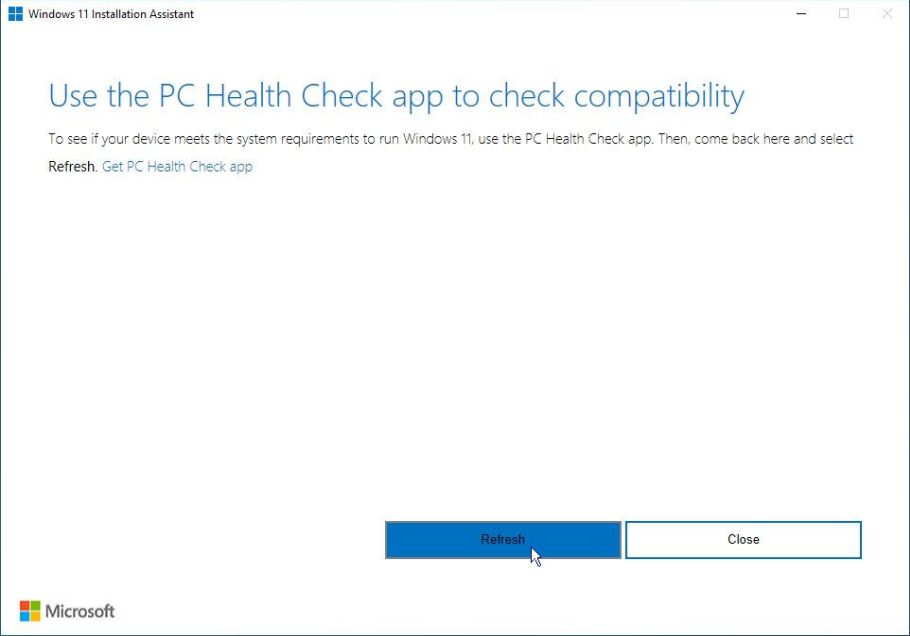 Back at the Windows 11 Installation Assistant, click Refresh
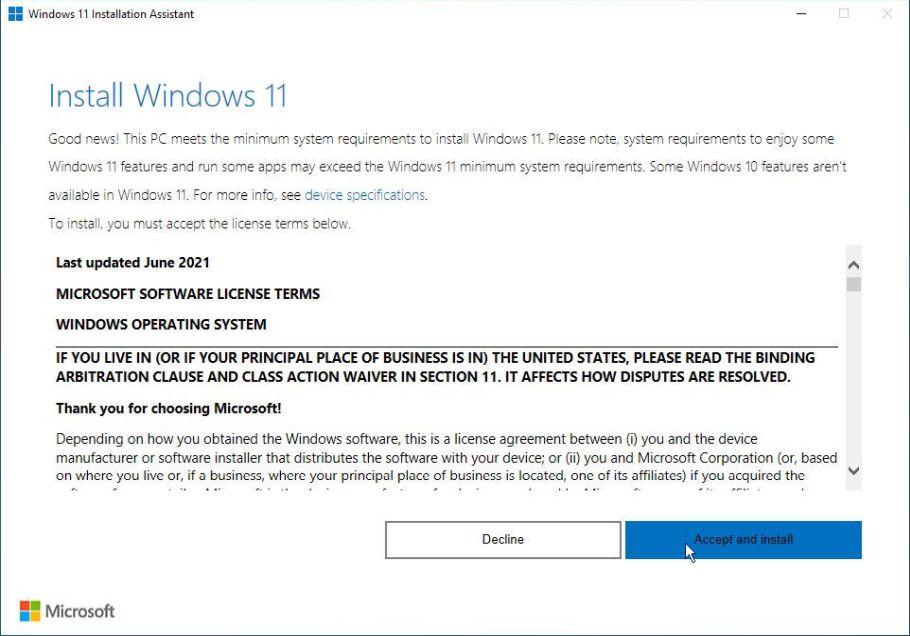 You will now be greeted by the Install Windows 11 screen. Click Accept and install
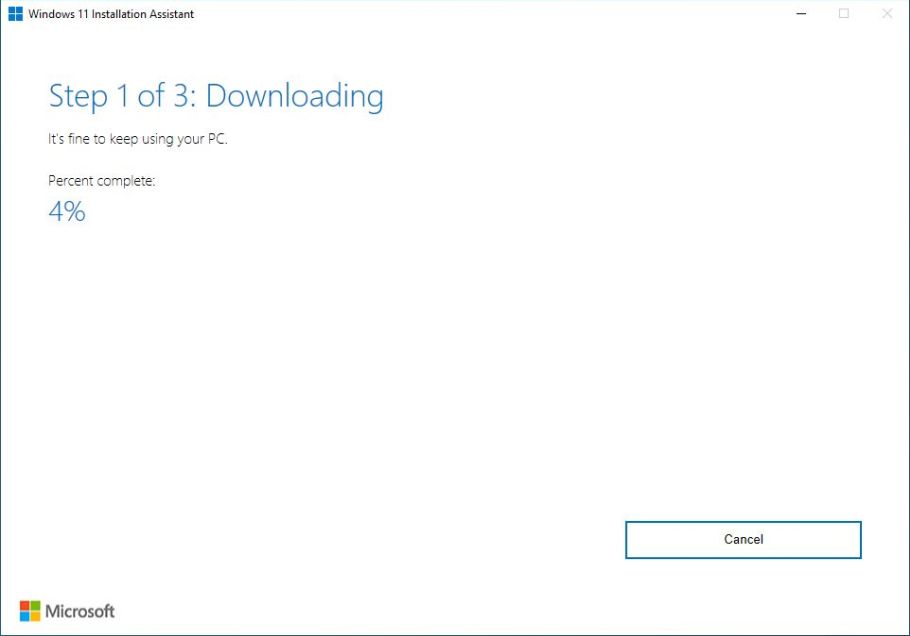 The download will continue and installation will complete automatically
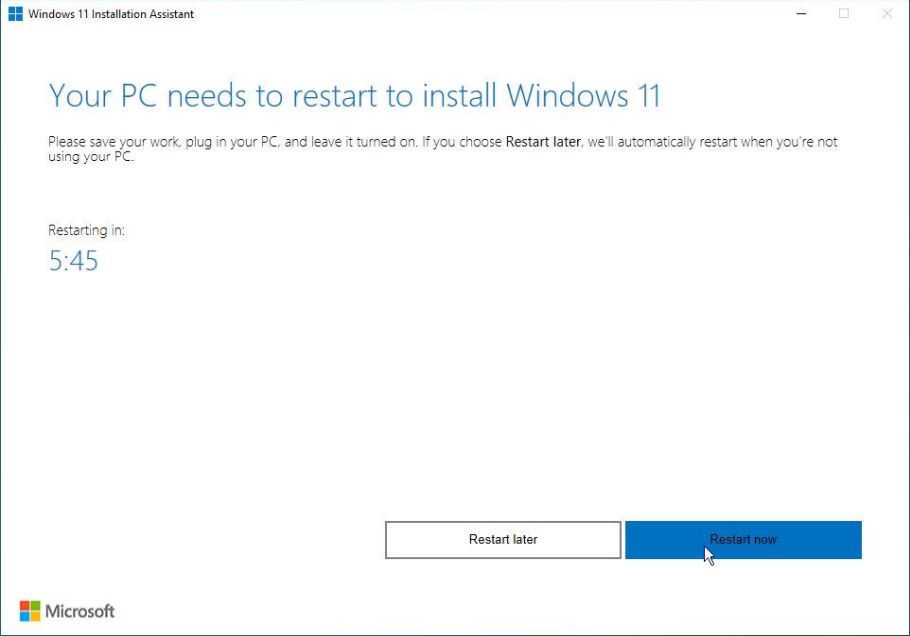 At the end of installation, you can click to restart the computer or simply leave it and it will restart

