- Click
 (the start button)
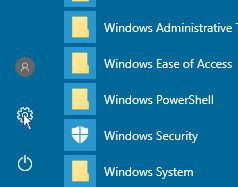
 - At the bottom of the menu, click to expand Windows System.
- Under Programs, click Control panel.
- Click Uninstall a program.
- Take a screenshot of the programs installed by holding down the Alt key and pressing the Print Screen key.
- Open Paint.
- Paste the screenshot into Paint by holding down the Ctrl key and pressing the V key.
- Save the copied screenshot onto the removable media you prepared earlier.
- If the list of installed programs scrolls past the bottom of the page, scroll down a bit then repeat the process above until you have screenshots of all the programs on your computer.
- Click (the start button).
- At the bottom of the menu, click to expand Windows System.
- Click Run.
- In the run box, type MSInfo32.
- Click OK.
- Click the File menu item.
- Click Save.
- Scroll to the removable media you prepared earlier.
- Type a file name.
- Click Save.
- Click (the start button).
- Click Windows System.
- Click Run.
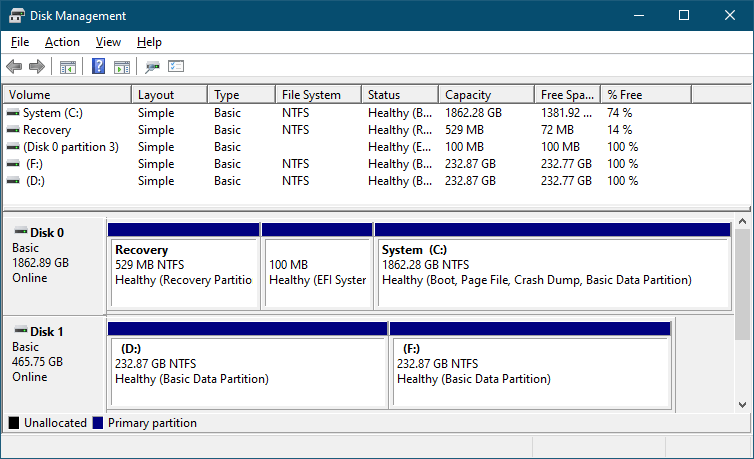
- In the run box, type diskmgmt.msc.
- Click OK.
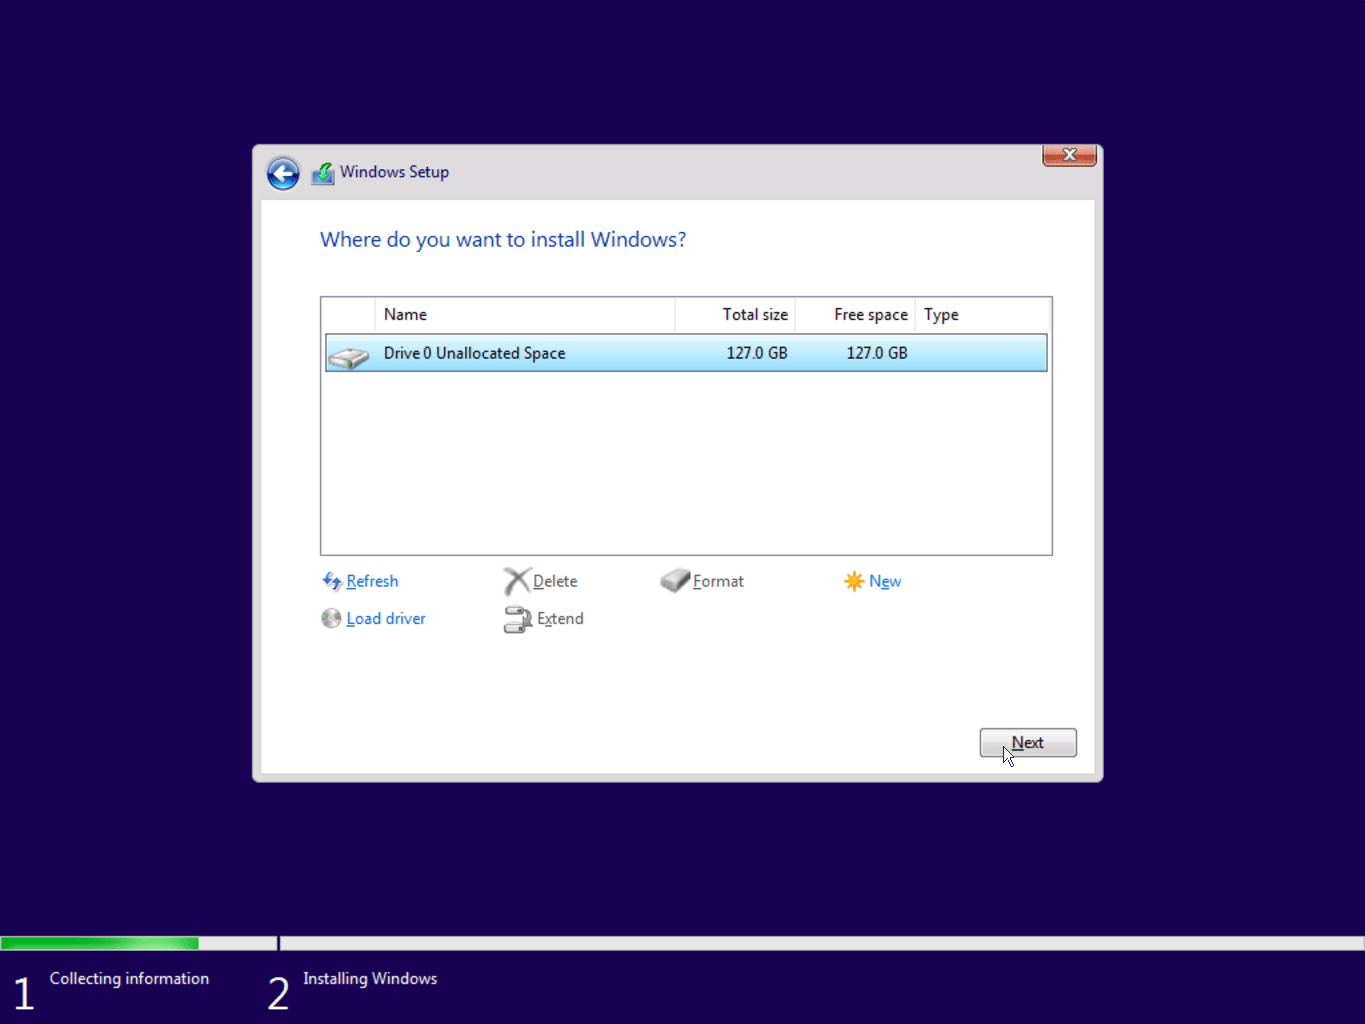
Look at the bottom part of the window that opens, physical disks are shown as Disk 0, Disk 1 etc as shown in the screenshot below.
- Insert the flash drive (or DVD) you prepared earlier.
- Make sure all windows are closed and there are no running programs.
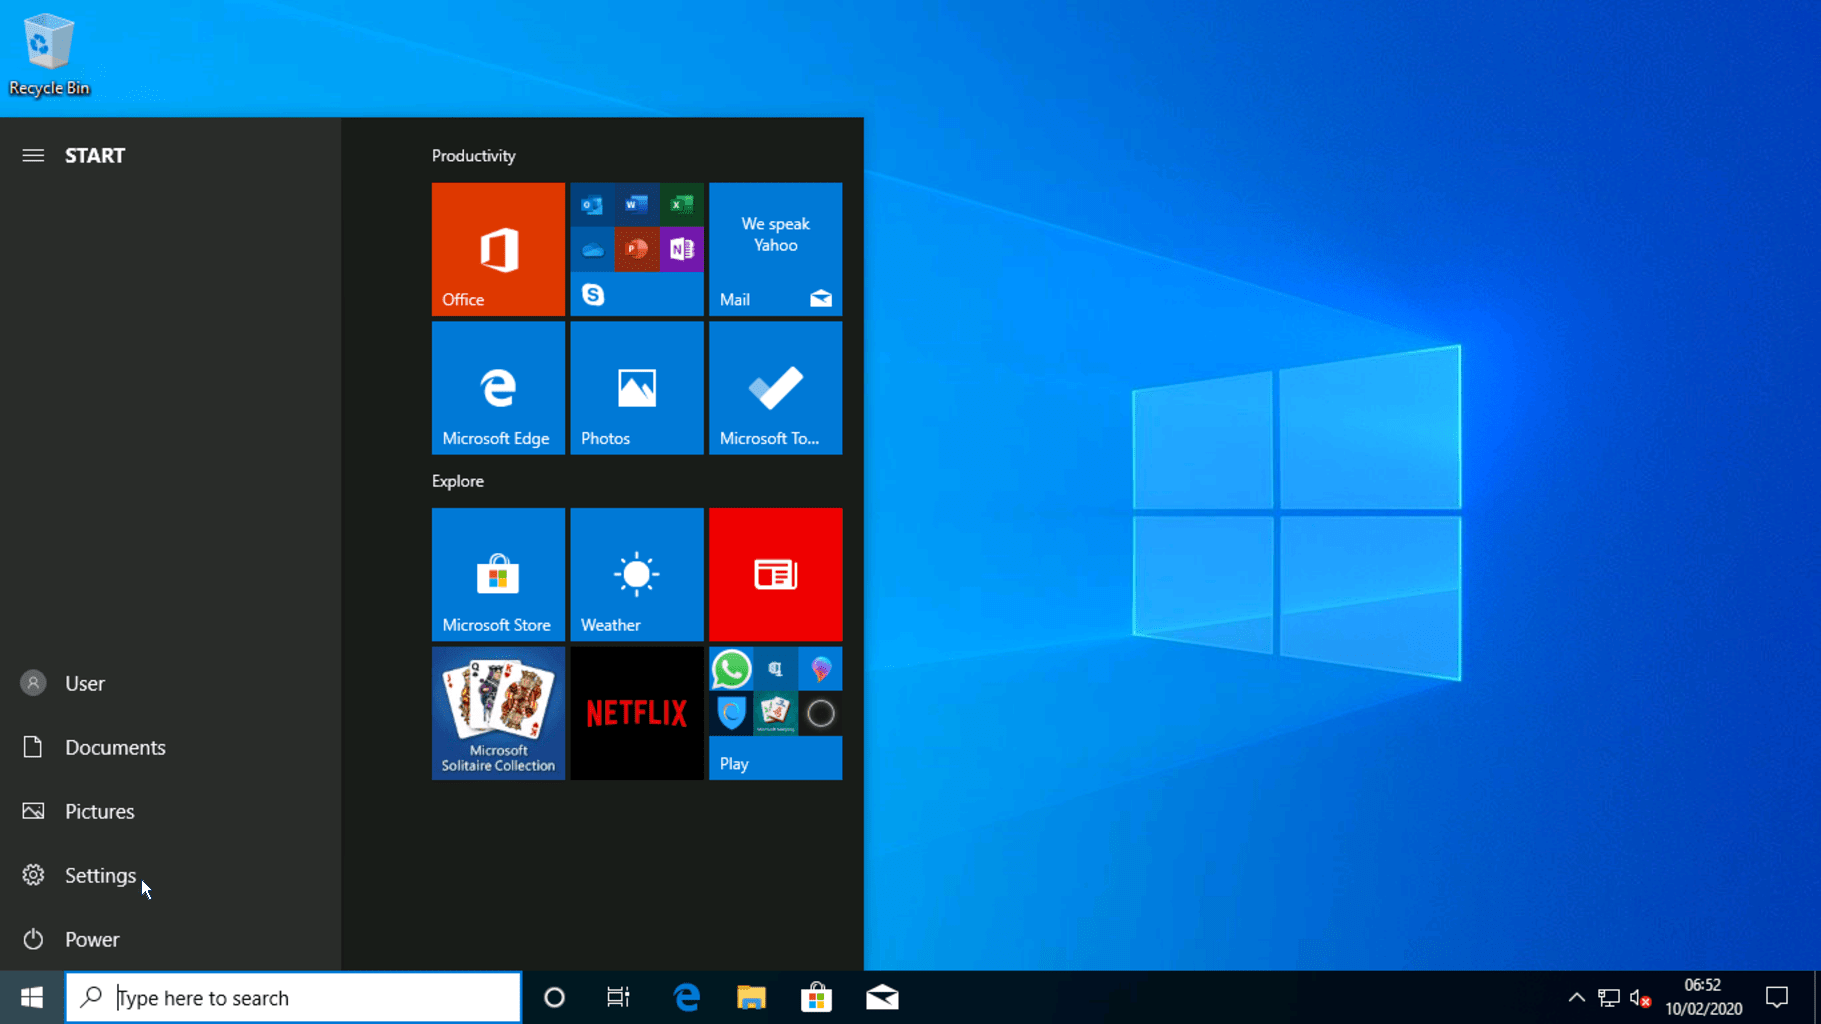
- Click (the start button).

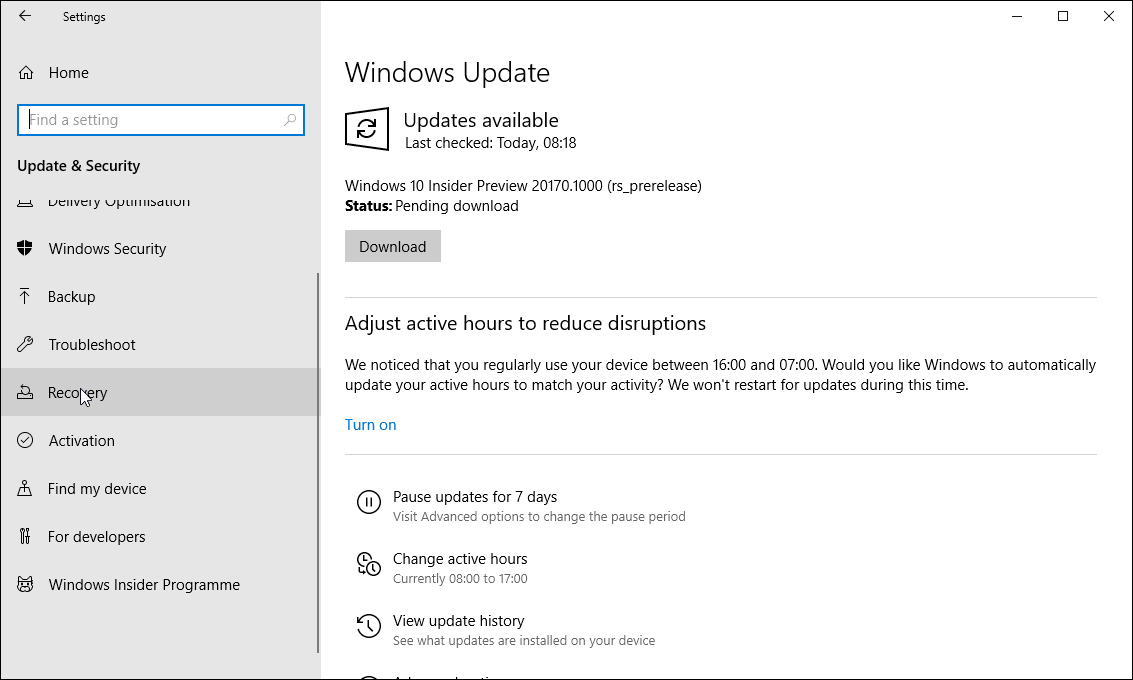


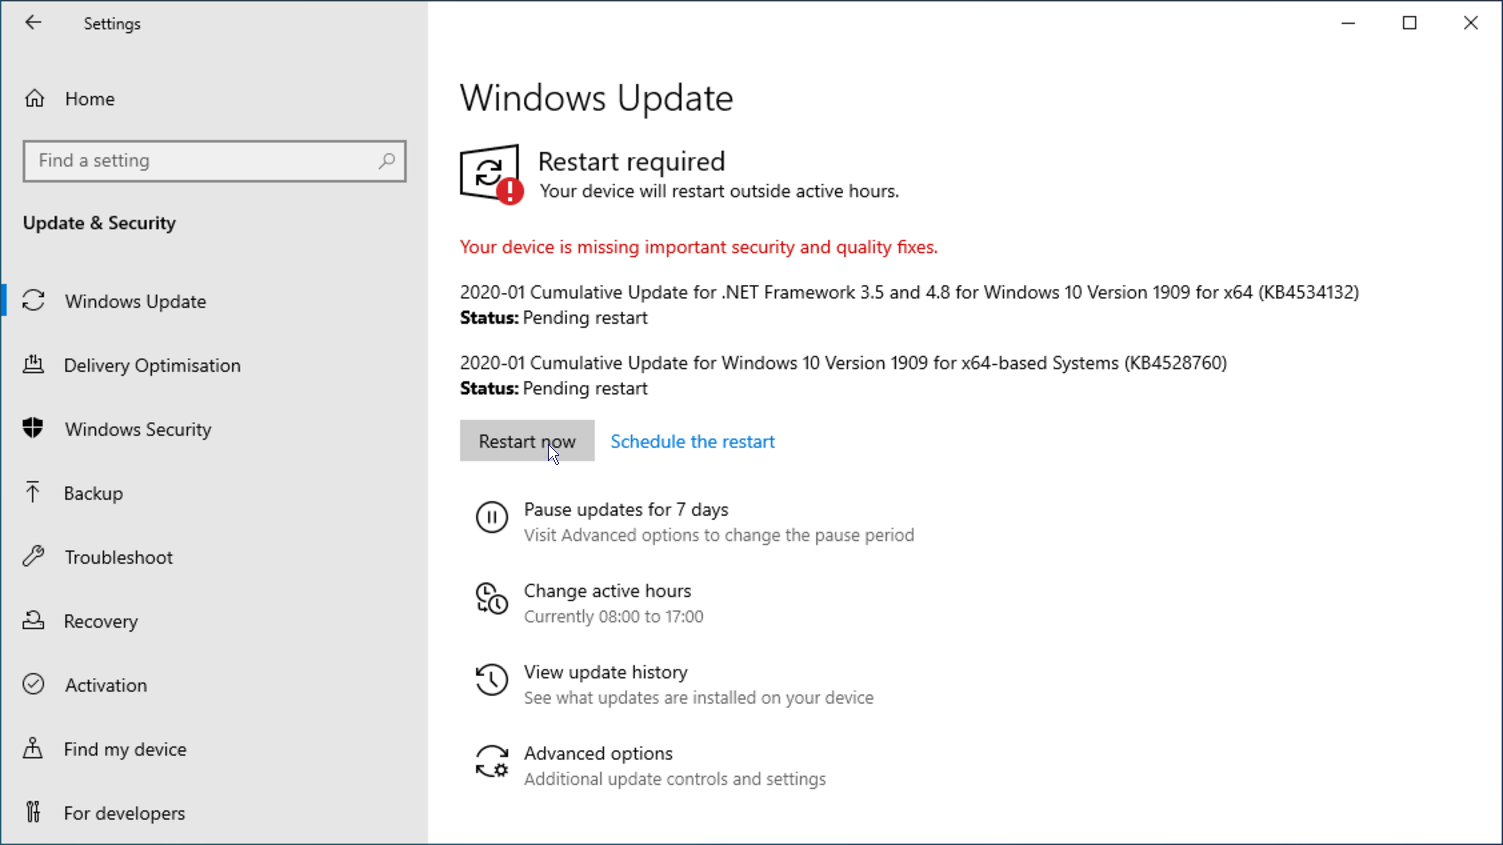
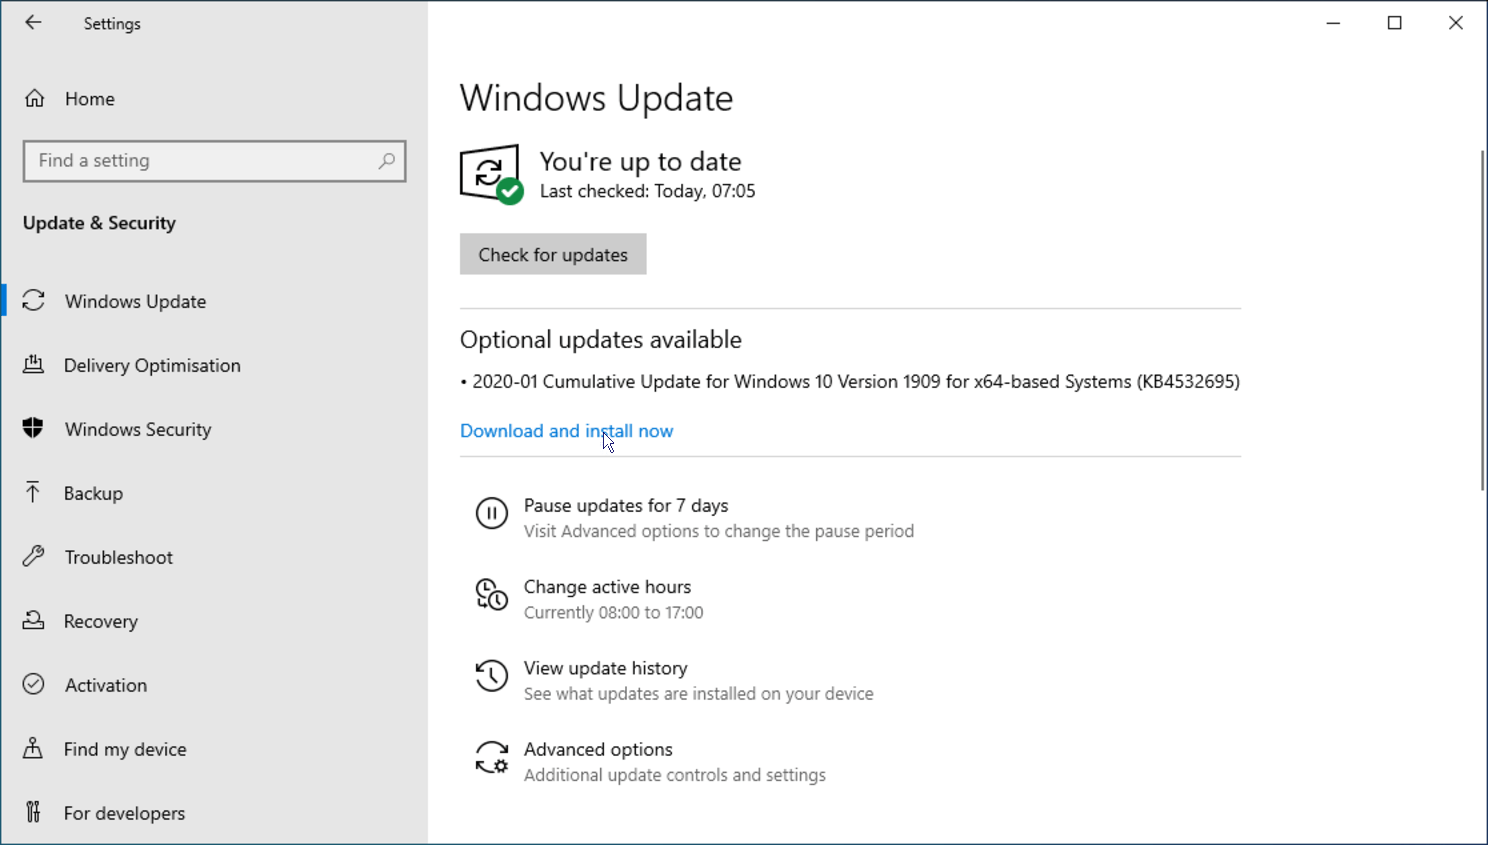
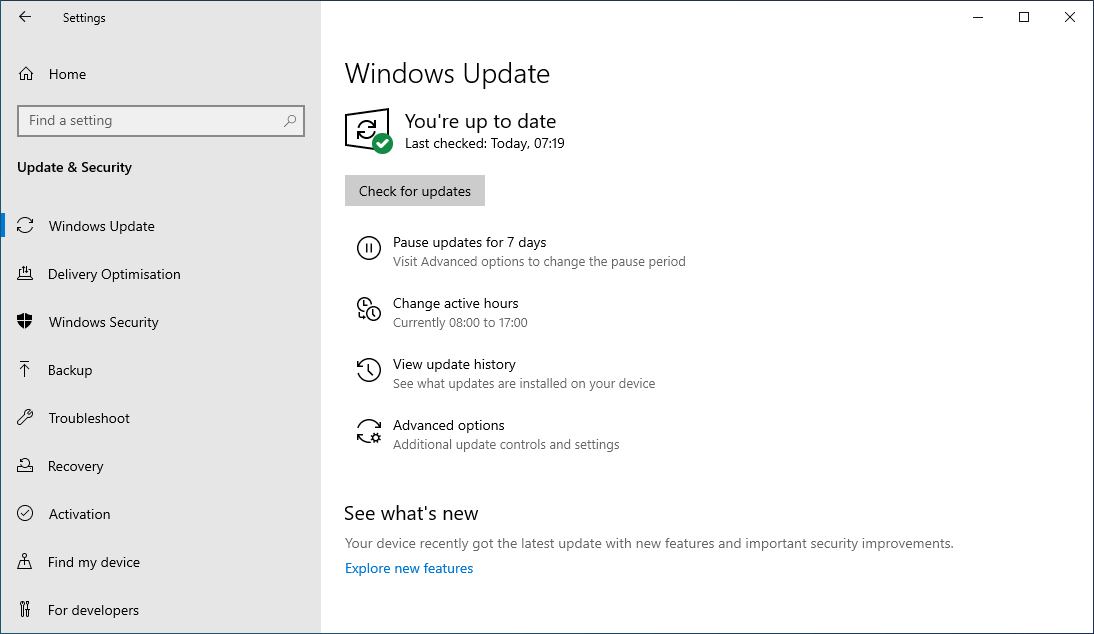
- Click (the start button) then click the Settings menu item.